


Most roof valley leaks trace back to one thing: the waterproof layer under the shingles has failed, not the shingles themselves. Valleys funnel water from two roof planes into a single channel, and when the underlayment or flashing beneath that channel gives out, water finds its way into your attic long before you see a stain on the ceiling.
Confirm it fast. Grab a flashlight, head into the attic on a dry day, and look uphill from any ceiling stain for damp decking, dark streaks along rafters, or rusty nail tips. If you spot moisture, you’ve got a valley problem, not a shingle problem.
- Check the attic first, before touching the roof.
- Note exactly where the wet decking or staining starts.
- Photograph everything for your records or an insurance claim.
Pro Tip: *If your roof pitch is steep, over 6/12, or you’re not comfortable on a ladder, skip the roof walk and call a roofer for the exterior half of the inspection.
Key Takeaways
Durable valley repairs fix the underlayment and flashing beneath the shingles, since patching the visible surface almost never stops the leak for good.
| Point | Details |
|---|---|
| Diagnose from the attic first | Trace stains uphill in the dark before touching the exterior; it’s the fastest, safest first step. |
| Most leaks start below the shingles | Underlayment and flashing failures cause the majority of valley leaks, not the visible finish. |
| Watch for the real red flags | Rotten decking, recurring leaks, or steep roof access mean it’s time to call a professional. |
| Prevent with a simple routine | Clear debris twice yearly, inspect each season, and upgrade to full-length ice-and-water shield when possible. |
| Crowley Exteriors offers free inspections | Over 25 years serving St. Charles County, with a 25-year guarantee on roofing repairs and rebuilds. |
Table of Contents
- How to Diagnose a Roof Valley Leak Step by Step
- What Actually Causes a Leak in a Roof Valley?
- How Do You Repair a Leaking Roof Valley?
- When Should You Call a Roofer Instead of Fixing It Yourself?
- How to Prevent a Roof Valley From Leaking Again
- Why Crowley Exteriors Knows Valley Repairs Cold
- Why Cosmetic Patches Almost Always Fail
- Get a Free Valley Inspection From Crowley Exteriors
- Frequently Asked Questions
- Sources
How to Diagnose a Roof Valley Leak Step by Step
Finding the exact failure point takes more than staring at a ceiling stain. Water rarely drips straight down from where it enters, so a methodical check saves you from patching the wrong spot.
1. Start in the attic with the lights off. Daylight leaking through a gap tells you more than any flashlight beam. Trace any wet insulation or dark wood grain uphill toward the ridge, since gravity pulls water sideways along rafters before it drips down. Wet decking, black staining around nail heads, or a moldy smell near the valley seam are the clearest tells.
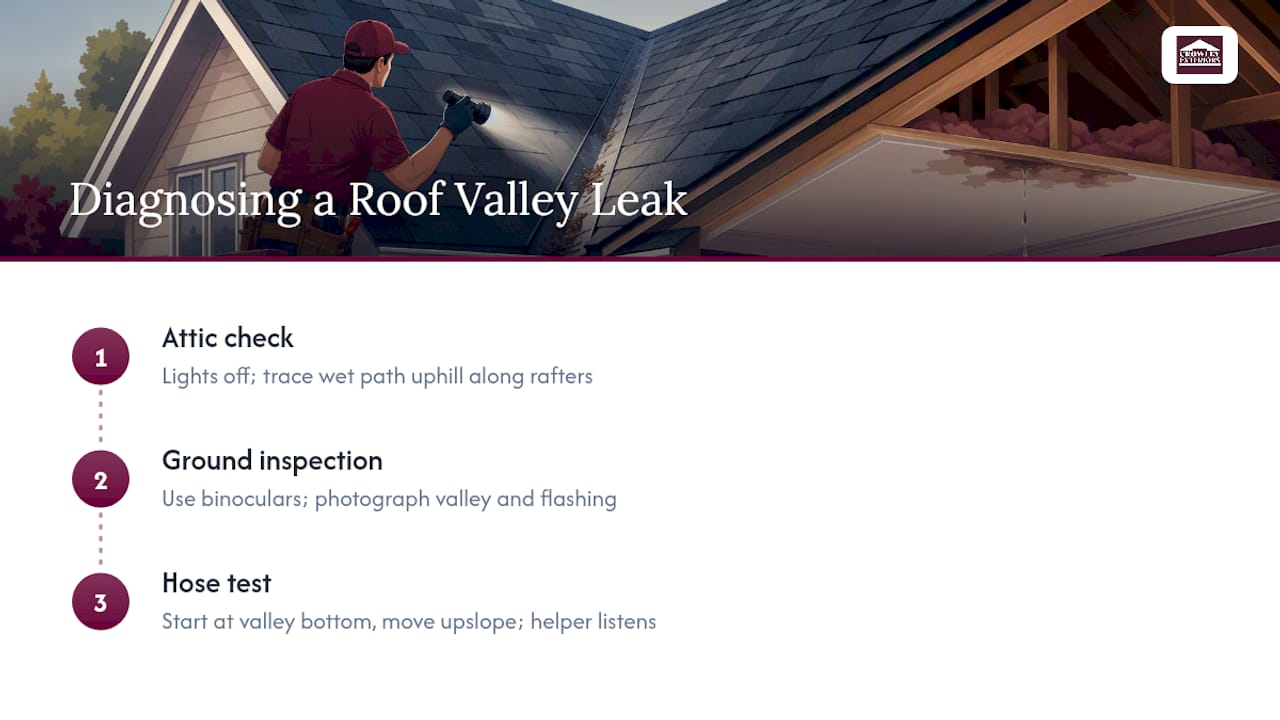
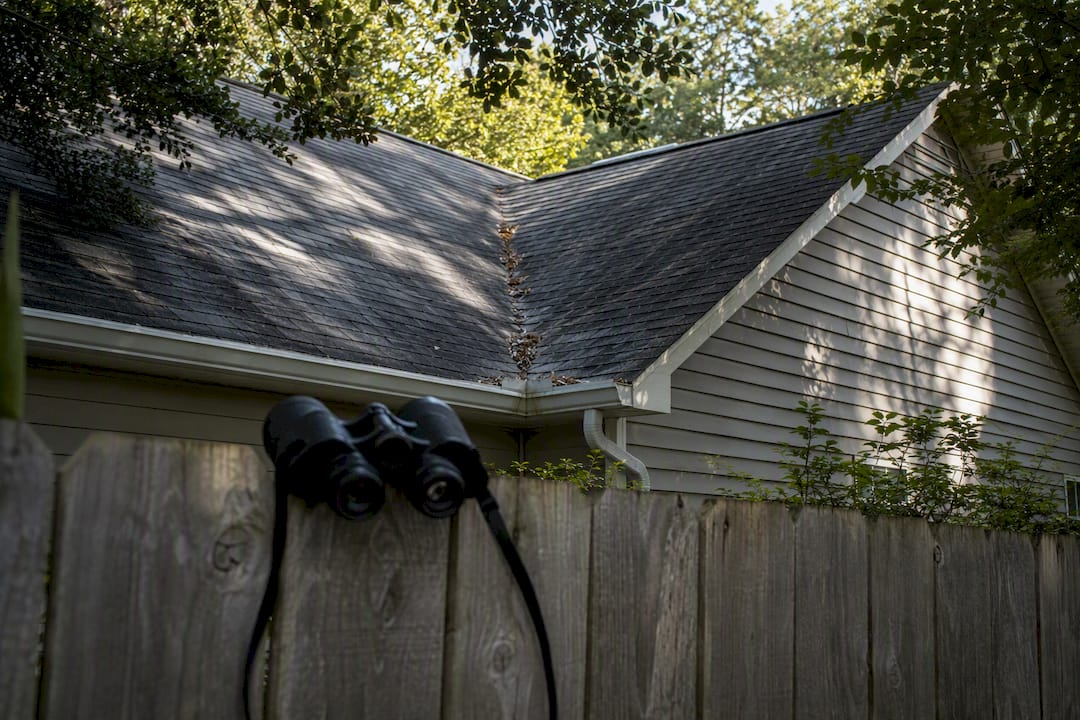
2. Move outside, but stay on the ground. Binoculars let you spot missing granules, curled shingle edges, rusted flashing, or a valley packed with leaves and grit without risking a fall. Photograph the valley from multiple angles, plus any spot where shingles overlap unevenly.
3. Run a garden-hose test with a helper. One person stays in the attic with a phone or radio while the other applies water at the bottom of the valley first, letting it run for several minutes before moving upslope in stages. This isolates the leak point instead of soaking the whole roof at once, and a focused hose test combined with a systematic attic check is one of the most reliable ways homeowners can pinpoint entry points without cutting into the roof.
One catch: water doesn’t always drip straight down from where it enters. It often travels several feet along a rafter or sheathing seam before finding a gap in the insulation, which is exactly why so many homeowners patch the ceiling spot and find the leak back a month later. Trace the wet path, don’t just chase the stain.
What Actually Causes a Leak in a Roof Valley?
A leaking valley almost always comes down to one of six failure points, and most leave visible clues if you know where to look.
- Missing or aged ice-and-water shield. Older roofs, or cheap re-roofs, sometimes skip the self-adhering underlayment that’s supposed to run the full length of the valley. Without it, valleys handling concentrated runoff have nothing to fall back on once the shingles wear thin.
- Flashing failures. Look for separated seams, visible rust, or metal that’s too thin for the exposure. Wrong metal for the climate, or flashing that doesn’t overlap enough at the joints, lets water sneak underneath.
- Shingle installation errors. Closed-cut valleys need precise cuts and nails kept well back from the centerline. Nails driven too close to the valley trough create tiny puncture points, and poor nailing patterns in closed valleys are a common, avoidable cause of capillary leaks.
- Debris damming. Leaves, pine needles, and granule buildup slow water flow and force it sideways under the shingle edge instead of down the channel, and regular clearing after storms prevents a large share of these leaks before they start.
- Ice dams. Meltwater refreezing at the eaves backs up under shingles and finds any weak seam in the valley, a problem that gets worse with poor attic ventilation.
- Rotten decking. If the plywood underneath has gone soft or spongy, that’s a structural issue, not a patch job, and it’s the one item on this list where DIY stops and a professional roofer takes over.
The finish style, whether open metal, closed cut, or woven, matters less than people assume. The membrane underneath the shingles does the actual waterproofing, so a good-looking valley with bad underlayment will still leak.
How Do You Repair a Leaking Roof Valley?
The right fix depends on how bad the damage is and how much time you have before the next storm. Here’s the honest hierarchy, from quick stopgap to full rebuild.
Before you climb anything: wear rubber-soled shoes, use a stabilized ladder with someone spotting you, and consider a roof harness on anything steeper than a walkable pitch. You’ll also want a pry bar, a sharp utility knife, roofing nails, a caulk gun with compatible sealant, and replacement flashing on hand before you start.
Temporary fixes (buy yourself a few days)
- Clear all debris from the valley with a soft brush, never a metal rake that can gouge the shingles.
- Dry the area completely, then apply a bead of compatible roofing sealant along any visible gap or lifted shingle edge.
- For an active leak during a storm, an aluminum flashing patch slid under the shingle edge and sealed at the perimeter can stop water for a night or two.
None of this is a real repair. It’s a bandage, and treating it otherwise is the single most common DIY mistake homeowners make.
Partial repairs (good for isolated, minor damage)
- Replace individual damaged or curled shingles along the valley edge, cutting new pieces to match the original pattern.
- Use flashing tape rated for roofing on small seam separations rather than caulk alone.
- Reseal any exposed or slightly raised fastener heads with roofing cement.
Full valley rebuild (the actual fix)
For anything beyond a pinhole leak, reliable, permanent repairs mean stripping the finish materials back and confirming a continuous underlayment before anything else goes back down. The process looks like this:
- Remove shingles on both sides of the valley for at least 12 to 18 inches out from the centerline.
- Inspect the decking for rot or soft spots. Any punky wood gets cut out and replaced before anything else happens.
- Install a new self-adhering ice-and-water shield running the full length of the valley, lapped correctly at seams.
- Set new flashing (open metal or reinforced closed-cut, matching your existing valley style) with proper overlap and fasteners placed well outside the water channel.
- Reinstall shingles with the correct nailing pattern, keeping nails clear of the valley center to avoid capillary leaks.
On materials, a flashing gauge in the commonly recommended mid-20s range is the standard rule of thumb, with aluminum as the budget-friendly option, galvanized steel as the durable middle ground, and copper as the premium choice that outlasts the shingles around it but costs the most upfront. Rescreening Masters walks through this same diagnose-clean-replace-rebuild sequence as the standard progression most roofers follow.
Expect a full valley rebuild to take a solid weekend for one section if you’re experienced, longer if you’re learning as you go. A properly rebuilt valley with fresh ice-and-water shield should outlast the roof’s next full re-roof cycle. A patched one might make it through one winter.
Pro Tip: Buy 10% more ice-and-water shield than your measurements say you need. Valley work eats material fast because of the angled cuts, and running short mid-job on a Saturday afternoon is how projects turn into a tarped roof for a week.
When Should You Call a Roofer Instead of Fixing It Yourself?
Some valley problems are beyond a weekend project, and pretending otherwise usually costs more than the repair would have.
Call a professional if you find any of these:
- Soft, spongy, or dark decking when you press on it from the attic side.
- The same leak reappears after you’ve already patched it once.
- Multiple valleys are leaking, or the damage runs the full length of one.
- The roof pitch is steep enough that safe footing is a real concern.
- Complex intersections where a valley meets a dormer, chimney, or skylight.
A legitimate roofing contractor will inspect from both the attic and the exterior, document rot or flashing damage with photos, and give you a written scope before starting anything. Cost swings mainly on how much decking needs replacing, what valley material you choose, how hard the roof is to access safely, and whether the work falls under an existing warranty.
Before signing anything, ask for the materials being used, the labor breakdown, how long the warranty runs, and whether decking replacement is included in the quoted price or billed separately if rot turns up once they open the valley.
How to Prevent a Roof Valley From Leaking Again
Most valley failures are preventable with a maintenance rhythm that takes less time than mowing your lawn twice a year.
- Clear debris from valleys twice a year, once in fall after leaves drop and once in spring, plus a quick check after any major storm.
- Do a seasonal walk-around with binoculars, checking for lifted shingles, exposed nail heads, or granule buildup in gutters, and photograph anything questionable for your records.
- If you’re re-roofing or repairing a valley anyway, upgrade to full-length ice-and-water shield rather than a partial strip. It costs more upfront and saves you the next leak.
- Check attic insulation and ventilation. Poor airflow lets snow melt unevenly on the roof, which is exactly what causes ice dams that back water up into valleys.
- Schedule a professional inspection every couple of years, especially before a Missouri winter, since catching a lifted flashing seam early is a lot cheaper than replacing rotted decking later.
Pro Tip: Keep your valley debris-clearing dates in your phone calendar. Homeowners who do this consistently catch small problems, like a curling shingle edge, months before those turn into an attic leak.
Why Crowley Exteriors Knows Valley Repairs Cold
Mario and the team at Crowley Exteriors have spent over 25 years working on roofs across St. Charles County, and valley leaks are one of the most common calls that come in after a heavy Missouri storm season. The pattern is almost always the same: a homeowner patches a visible shingle, the leak comes back within a season, and the real problem turns out to be underlayment that was never installed correctly the first time.
When we inspect a valley, we’re not looking at the shingles first. We pull back the finish and check what’s underneath, because that’s where a leak actually starts and where a lasting fix has to happen.
What Crowley Exteriors checks during a valley assessment:
- Decking condition and moisture readings from the attic side.
- Underlayment coverage and whether ice-and-water shield runs the full valley length.
- Flashing material, gauge, and overlap at every seam.
- Nail placement patterns along the valley edges.
A free inspection gives you a straight answer on whether you’re looking at a patch, a partial repair, or a full valley rebuild, backed by photos and a written recommendation.
Why Cosmetic Patches Almost Always Fail
The conventional advice you’ll find online treats a roof valley leak like a caulk-gun problem: seal the gap, move on. That’s backwards. The research on valley construction is consistent on one point: the underlayment does the actual waterproofing, and the shingle finish is largely cosmetic. Sealant on top of a failed membrane just hides the symptom for a season.
Where I think most homeowners go wrong is treating the attic inspection as optional. It’s not a nice extra step, it’s the fastest and cheapest diagnostic tool you have, and it tells you within twenty minutes whether you’re dealing with a five-dollar sealant fix or a decking problem that needs a professional. Skipping straight to a caulk tube because the leak “isn’t that bad yet” is how a $300 partial repair turns into a $3,000 rebuild two winters later.
If you take one thing from this: prioritize the underlayment every time. A valley with fresh ice-and-water shield and mediocre-looking shingles will outlast a picture-perfect valley with no membrane underneath it.
Get a Free Valley Inspection From Crowley Exteriors
A hose test and an attic flashlight will tell you something’s wrong, but they won’t tell you whether you need a $200 flashing repair or a full valley rebuild. That’s where a trained eye pays for itself. Crowley Exteriors has spent over 25 years diagnosing valley leaks across St. Charles County roofs, and every inspection comes with a no-obligation estimate, so you know your options before you spend a dime.

Before your inspection, have your attic notes ready: when you first noticed the leak, any photos of staining or wet decking, and roughly which part of the roof it’s under. That speeds up the diagnosis considerably. If your valley needs more than a repair, Crowley Exteriors backs its work with a 25-year guarantee on roofing services, and every estimate spells out materials, labor, and warranty terms in writing before any work starts. Request your free inspection today and get a straight answer on what your valley actually needs.
Frequently Asked Questions
Can I fix a roof valley leak myself?
Minor issues like debris buildup or a single lifted shingle are reasonable DIY jobs if you’re comfortable on a ladder. Anything involving rotted decking, recurring leaks, or steep roof access is safer left to a professional.
How much does it cost to repair a roof valley leak?
Cost depends heavily on how much decking needs replacing, the valley material chosen, and roof access difficulty. A partial shingle and flashing repair costs far less than a full rebuild that requires stripping the valley to bare decking.
What is the best material for valley flashing?
Aluminum is the most budget-friendly, galvanized steel offers a durable middle ground, and copper lasts the longest but costs the most. A gauge around 26 to 28 is the common standard across all three.
How long does a roof valley repair take?
A temporary patch takes under an hour. A partial shingle and flashing repair typically takes half a day. A full valley rebuild with new underlayment can take a full day or more depending on valley length and decking condition.
Do ice and water shields really prevent valley leaks?
Yes. A continuous, self-adhering ice-and-water shield running the full valley length is one of the most effective upgrades against both everyday runoff and ice-dam backup during winter melt cycles.
Sources
- What is a roof valley and why does it leak? — GAF
- Roof valleys and penetrations (sealed) — BASC/PNNL
- Roof Valleys: Open vs Closed, Why They Leak & How to Care for Them — Legendary Ways Roofing
- Leaking Roof Valley Repair: How to Diagnose, Fix, and Prevent Roof Valley Leaks — Rescreening Masters